
HOW TO CREATE A MIXED MEDIA GIFT USING A LASER
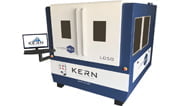
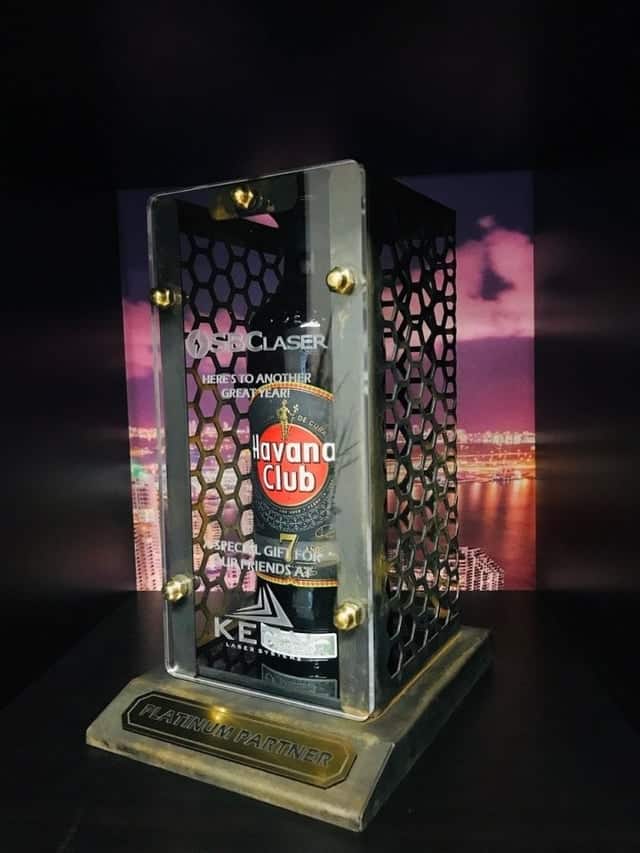
How do you say “Thank You” to an outstanding client or customer? Nick Caito of SBC Laser demonstrates his take on adding a personalized touch to a unique gift. In this Platinum Partner build, Caito mixes steel, acrylic, and brass with a combination of laser cutting and engraving with his Kern 400W HSE laser system.
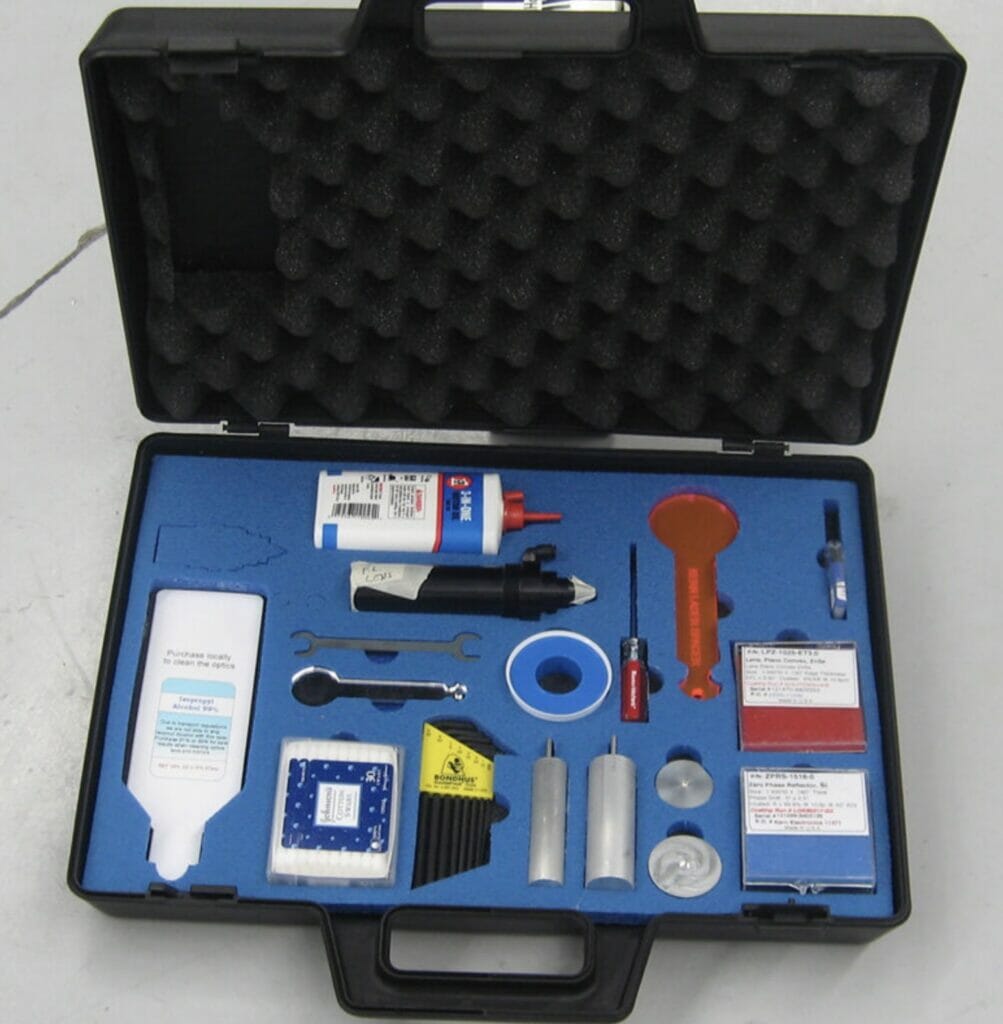
MATERIAL NEEDED:
• 18 ga mild steel
• 1/4″ acrylic (clear and black)
• .020″ brushed brass (used here is from Rowmark)
• Brass acorn nuts, washers, and bolts
• Blackening chemical
SUGGESTED PARAMETERS
• 18 ga Mild Steel
Speed: 2″/sec
Power: 90%
Frequency: 600Hz
Assist Gas: Oxygen (100psi)
• Acrylic Etching
Speed: 80″/sec
Power: 25%
DPI: 300
Assist Gas: Compressed Air (20psi)
• Acrylic Cutting
Speed: .5″/sec
Power: 30%
Assist Gas: Compressed Air (5psi)
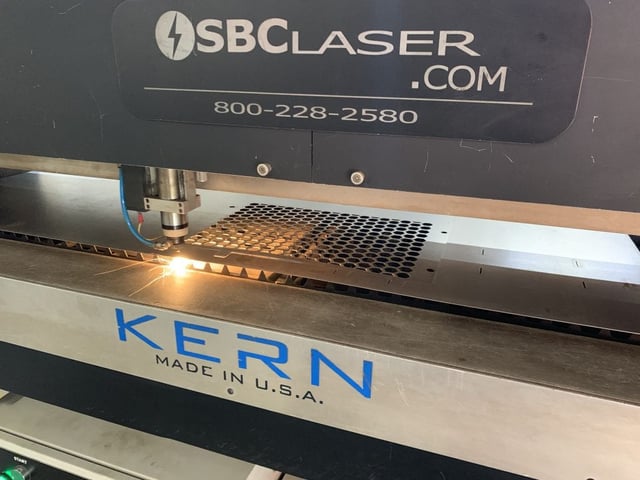
Step 1: Set Parameters and Cut Mild Steel
When cutting metal, laser focus is an important aspect. As the mild steel is cut, it heats up and tends to move around. If using a Kern (like we did for this project), the automatic height follower maintains a consistent focus point over the entire sheet.
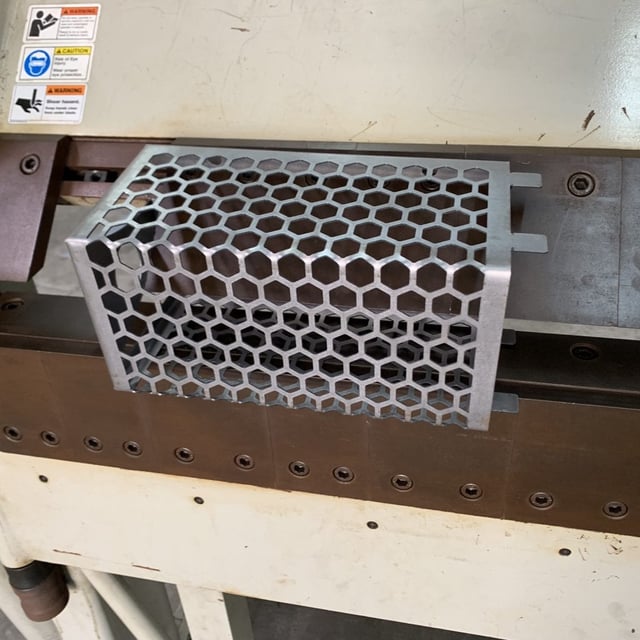
Step 2: Form Metal
This custom cage and base are bent using a folding table. No welding was required.
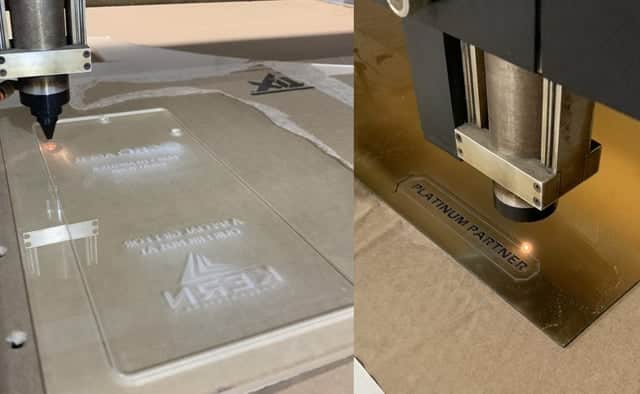
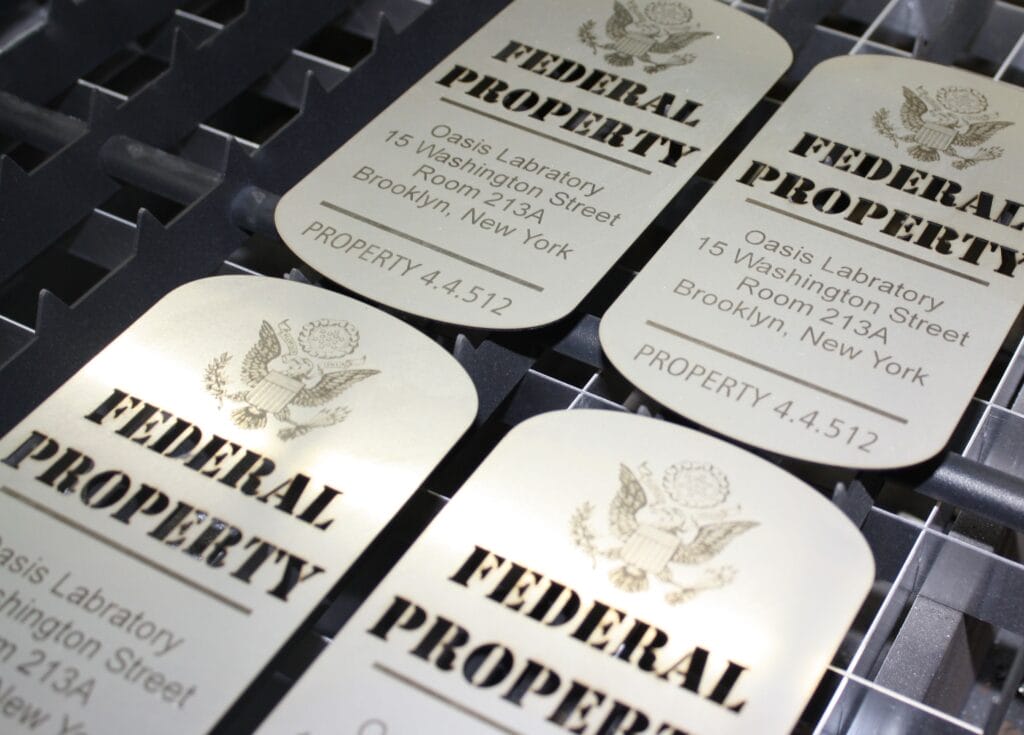
Step 3: Cut and Engrave Metal
Lasers are popular tools when processing acrylic.
Step 4: Blacken Steel
A chemical process used applied to the steel, giving it a blackened look.
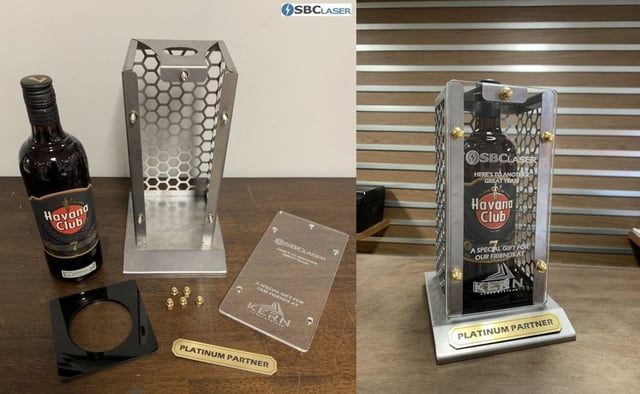
Step 5: Assemble
The only fasteners used on this project are decorative brass acorn cap nuts.
Thank you SBC Laser for sharing your build with us, and allowing us into your shop. This project can also be seen on Instructables.